Making Artist pastels with Coloured Earth Pigment Guide
Posted by Sarah, Celtic Sustainables on 9th Nov 2018
After the fun we had making oil and watercolour paints using the Coloured Earth Pigment guide, I decided to have a crack at making some soft artist pastels. You can find the guide I followed guide I followed here, although some techniques and ingredients may vary which I’ll touch on below.
 Soft pastels are always popular with artists and they’re also really popular with my family too. The children love arts and crafts and I’ve spent hours making things with my nieces and nephews and colourfully decorating their creations with pastels. The one thing I’ve noticed along the way however, is that some pastels work better than others. Some colours aren’t as vibrant as others and some don’t last as long or break much quicker; so I decided to learn how to make some of my own.
My research showed me that a lot of it comes down to the types of fillers and binders used (this is the stuff that holds the pigment together basically) and the ratio of filler to pigment. So with that in mind, I set off with my experiment…
By the way, I chose to make soft pastels specifically because they’re one of the most commonly used. Soft pastels don’t stick to the surface completely, which means they can be brushed off, blended with other colours and smudged. They also tend to have a much higher proportion of pigment in them which means you get brighter colours - yay!
There are a few different binders you can use to make pastels, like Gum Tragacanth, Gum Arabic and even a simple mix of flour and water will do, but I decided to use wallpaper paste since our Earthborn Wallpaper paste is really easy to mix, safe for children and pleasant to use.
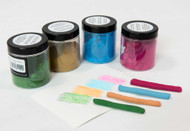
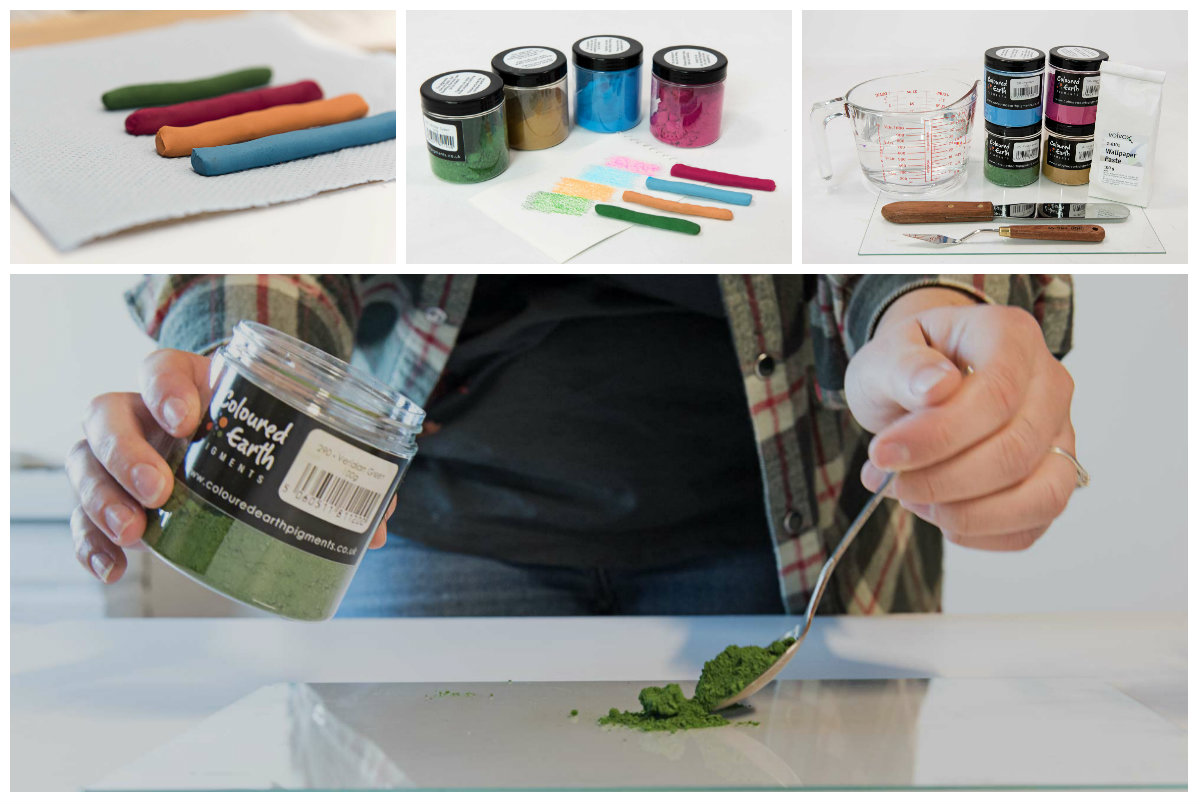
I used a large glass jug to mix the wallpaper paste in and chose a selection of Coloured Earth pigments for my pastels. I chose India Blue, Natural Sienna, Magenta Rose and Veridian Green.
Using a teaspoon I added a small amount of pigment to a glass panel (although any non-porous surface will do). It’s really important to work the mixture really well to make sure all the pigment is mixed in, because if you don’t, you can end up with hard gritty bits of pigment in the finished pastel which will scratch on the paper.
Next I created a little well in the middle of the pigment and spooned in a little of the wallpaper paste and began to fold in the pigment using the pallet knife. I kept adding a little bit of pigment and a little bit of paste until I achieved a mixture that resembled firm putty and was big enough to make a pastel stick.
I then rolled the mixture in my hands – a bit messy but it achieved the desired look way faster than using a pallet knife. (I did try using a mould for one pastel stick but it didn’t really work and turned out to be quite delicate and crumbly but I think that was because my paste mixture was a little too wet, so I added more pigment to make it dryer and rolled it by hand after that.)
I set my hand moulded pastels down on an absorbent paper towel and left them in a sunny spot on a window sill to dry. The following day they were ready to go and I could try my creations out on paper.
I’m really pleased with the results. All my pastels worked which was great, although some were a little harder than others. This is because of the different coloured pigments I used - some colours need a weaker solution of wallpaper paste (binder) than others I’ve learned - but now that I’ve got a little experience under my belt, I can’t wait to try them out with my nieces and nephews.
WHAT I USED:
- Old or protective clothing and gloves (some pigments may stain clothes and hands too!)
- A good non-porous surface like marble or glass
- A container to mix the binder
- A pallet knife (or two!)
- Earthborn Wallpaper paste
- A jar to keep left over wallpaper paste in
- Coloured Earth Pigments in an assortment of colours


